|
<< Click to Display Table of Contents >> Job Re-creation Process |
  
|
|
<< Click to Display Table of Contents >> Job Re-creation Process |
  
|
Overview:
Normally when creating Production Orders and Jobs in ITMS the user would complete the Part build with the correct materials and/or sub parts before creation of the Job Ticket. However, this is not always possible and changes to the part or addition to parts are required after the production order and job ticket/s have been created. To ensure that the correct information is carried through the Job ticket after these changes are made, the following procedures must be followed.
Recreating Job Tickets after making changes to the Production Order
Step 1. Before adding parts or changing the build of an existing Production Order the following must be checked:
| • | No times have been booked against the Job ticket number. |
| • | No materials have been picked or purchased against the job ticket number. |
| • | No despatches have been done for the order. |
Important: A new order must be raised for additional items if the above conditions cannot be met.
Step 2. Open the Jobs module, click on the ‘Job Control’ icon to open the window. Press <F2> and select the Job number from the pop-up list then click OK. Change the “Active” field from “Yes” to “No”. Save the record by pressing <F9> and exit Jobs module

Step 3. Open the Order Book module, and click on the ‘Edit Production Order’ icon, enter the production order number or press <F2> and select required production order from the pop-up list and click on OK. Enter the additional items to the order, change quantity as required ensuring that you press <TAB> to move out of the “Qty” field, press <F9> to save and exit Order Book module.
Step 4. Open the Jobs module, and click on the ‘Create Job Ticket’ icon. Enter the job ticket number in the “Job No” field and press <TAB> to active the ‘Create Job Ticket’ pane.

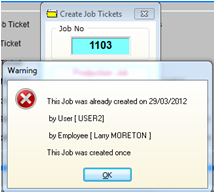
A warning message pops up advising that this job was already created. The warning message also displays the date they were created, and the user number and name of the employee who created the job tickets, click OK.
The ‘Creating Job Tickets’ panel appears and the process is run recreating the job ticket/s.

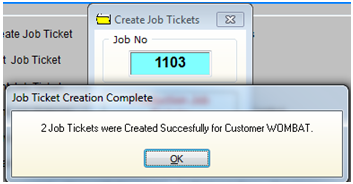
Click OK on the ‘Job Ticket Creation Complete’ message and the ‘Print Job Tickets’ window appears, print if required.
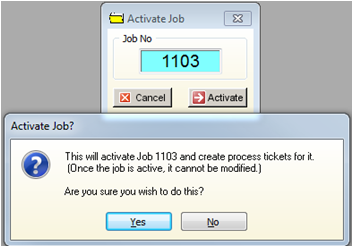
Step 5. In Jobs Module window - click on the ‘Activate Job’ icon, enter the production order number and press <TAB> to generate the window and then click on the Active button. A confirm message appears, click on Yes.

The job is now active order and is ready to be started again.
Last Revised: 29/03/2012 SJ